 |
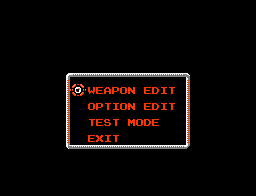
Step
one, before blasting off, is to go into the EDIT mode. I know
this is new for most shooter fans, so holster those itchy trigger
fingers for a short while.
Be
sure to change both your weapons and options, then go through
a 100 question, true false/multiple choice test on "how well your
know your shmups". Those who score a 93 or above will be given
the job of updating Shmups Mk2.
(Poor
people!!!!! You call that a prize? =) - Akira)
|
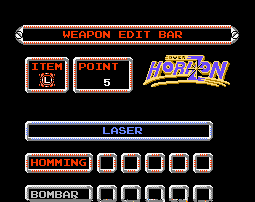 |
Ok,
you have five points to dump into regular weapon's homing strength,
or you option's speed. I put most of it into the "homming" power
of weapons. If you can "homm" well, the game's a breeze.
(yo
yo yo! where my hommies at! =P - Akira)
|
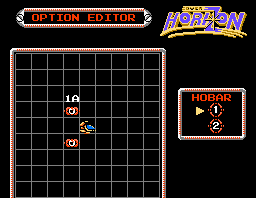 |
Pick
the option's starting position, then the ending position. A1-A2
then B1-B2. You can make them as close or as far from your ship
as the grid allows. Then call a friend into the room, and yell
out "C7 - You sunk my Hobar-ship!" (Battleship © Milton Bradley)
(Hobar-ship © Roger Post)
|
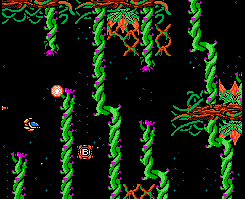 |
This
aint no little shop of horrors. Don't worry, you can pass through
the main green vines.
|
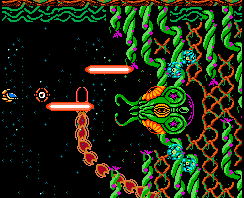 |
Only
at level one, and already the "shooter necessity snake". The boss
looks like a frontal view of a praying Mantis.
|
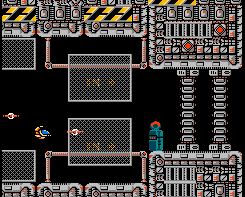 |
Ah,
the generic factory level 2. That blue cylinder thing is really
a switch, and shooting the red light on top opens up the doors
ahead.
|
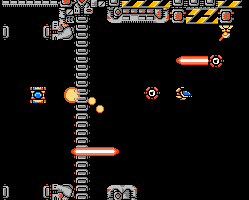 |
This
section keeps you on your toes, since after some walls open, others
shut. The good news is that enemies are trapped by this also.
Makes for a very cool level design.
|
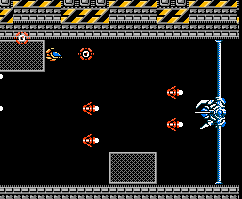 |
Try
to ignore the graphics. Just close your eyes or something.
More
awesome CGI in the next page!
|
|